


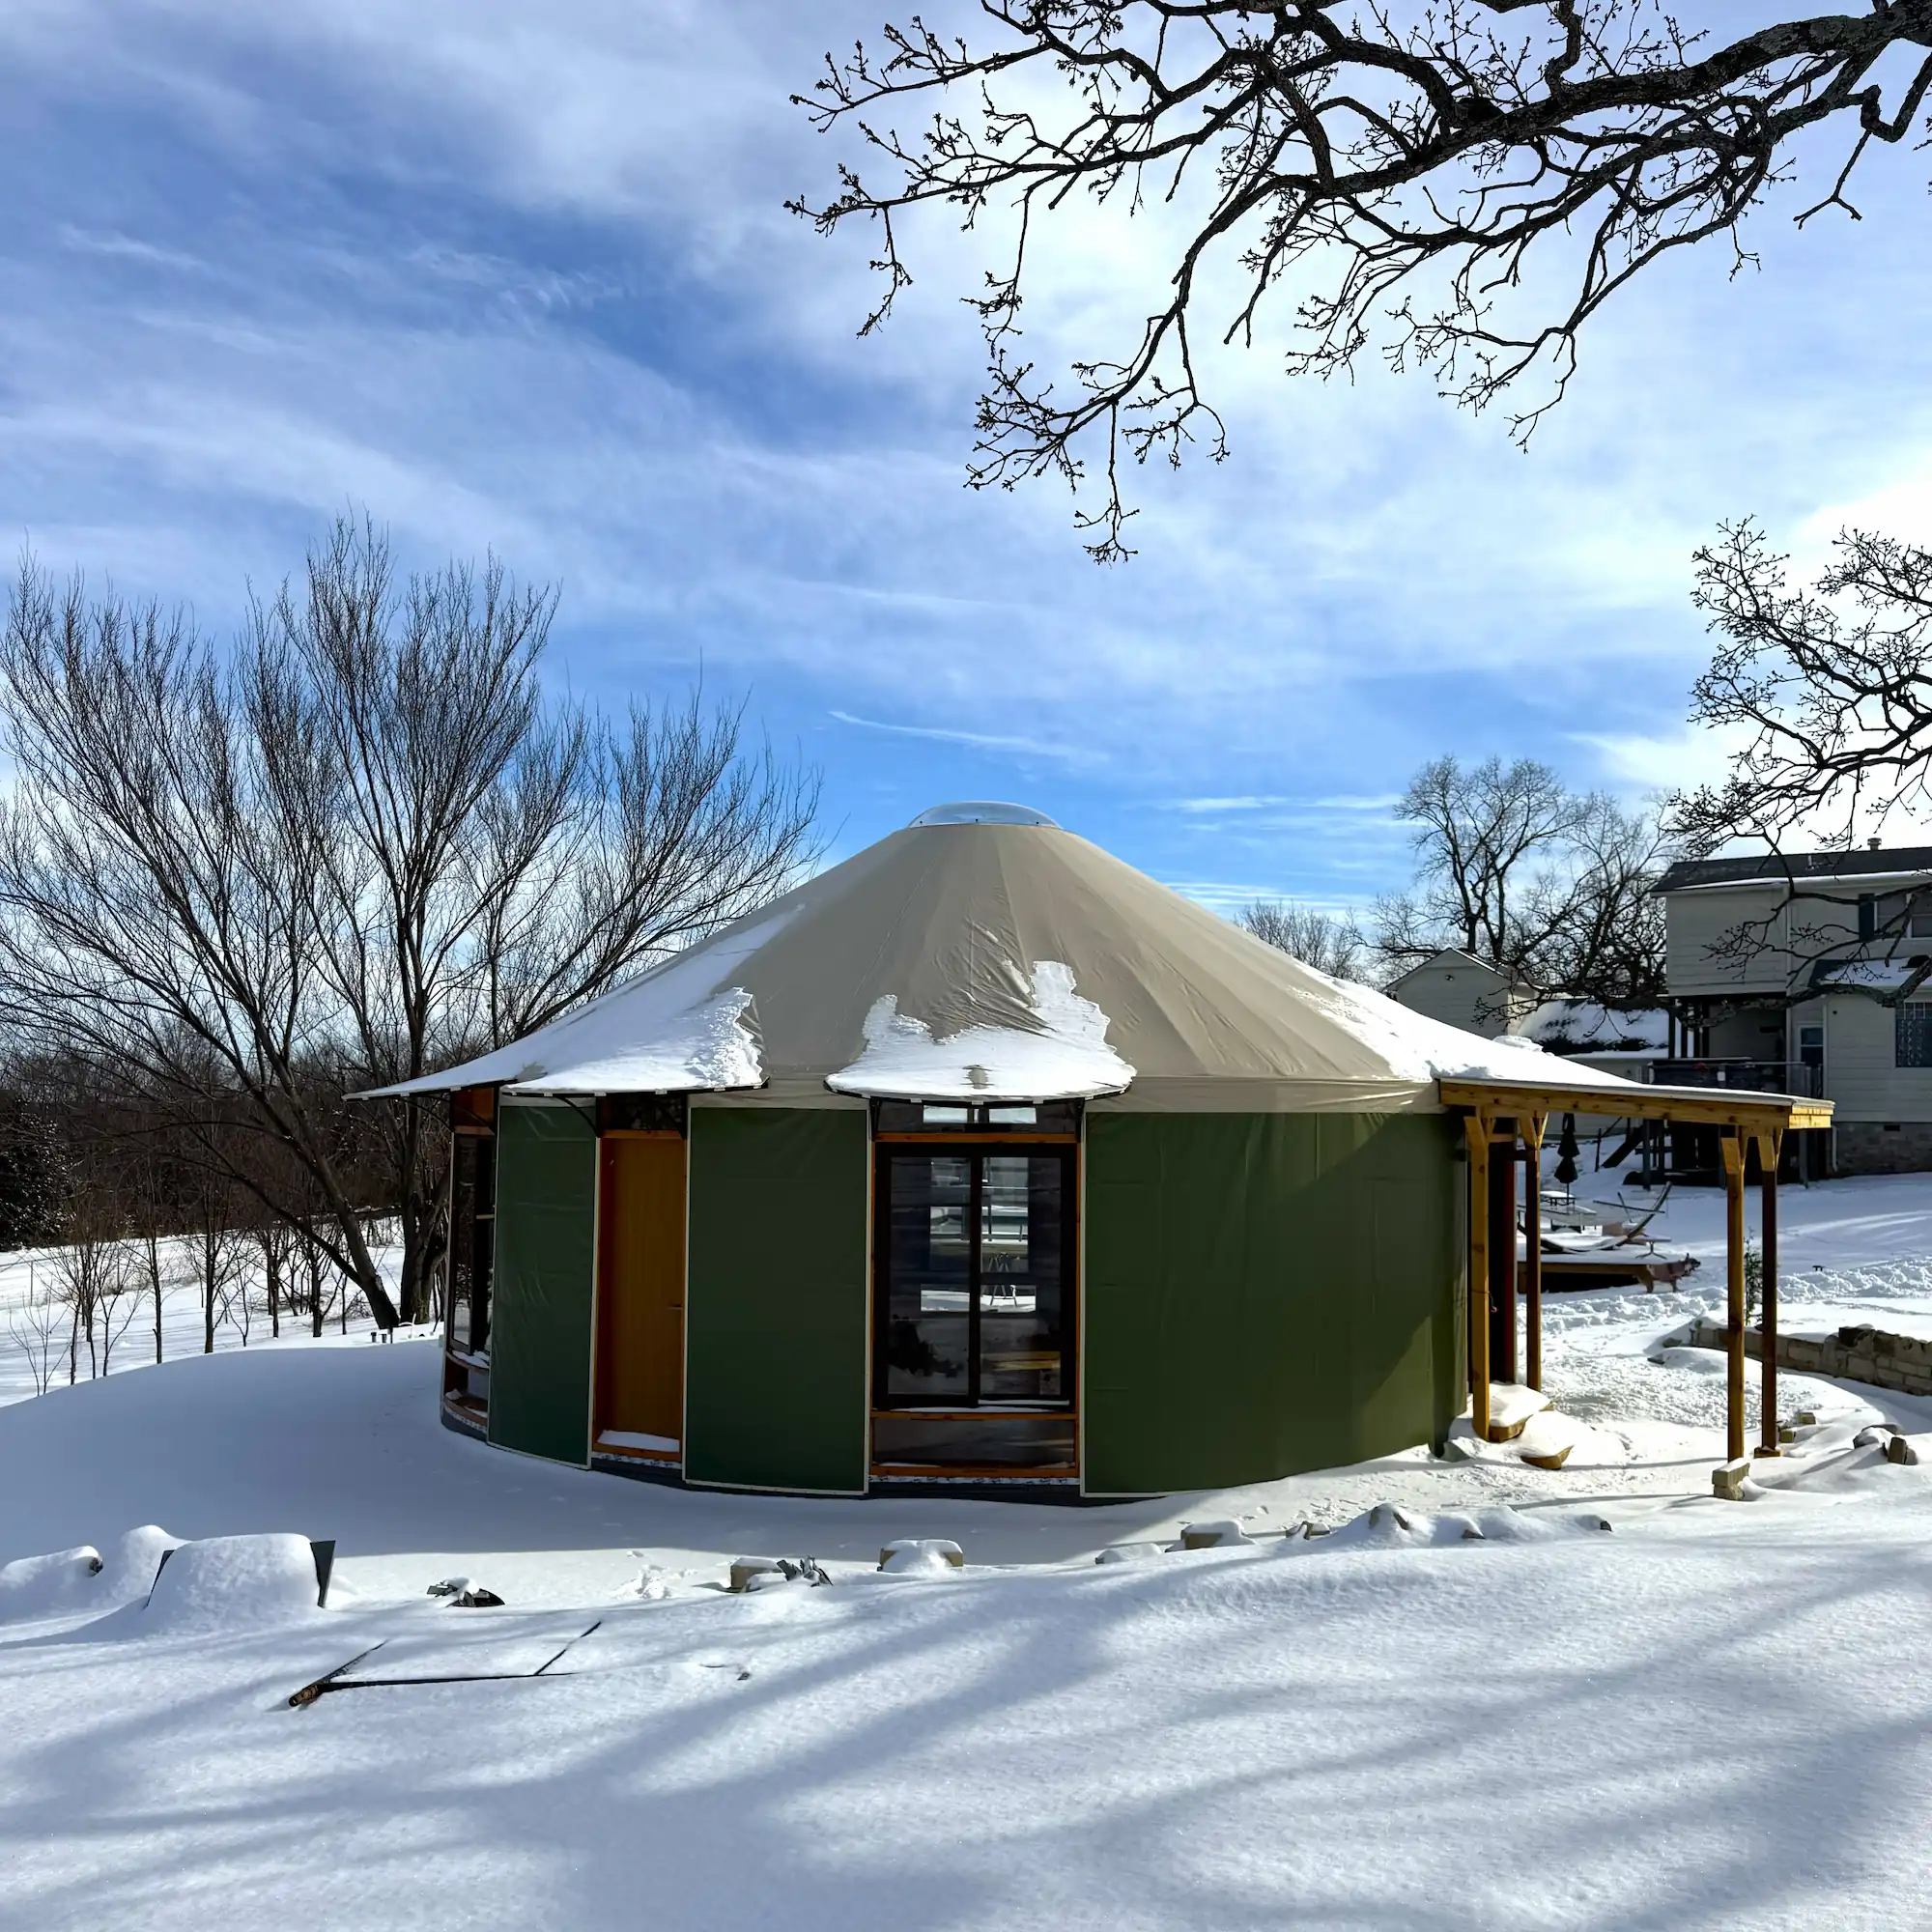
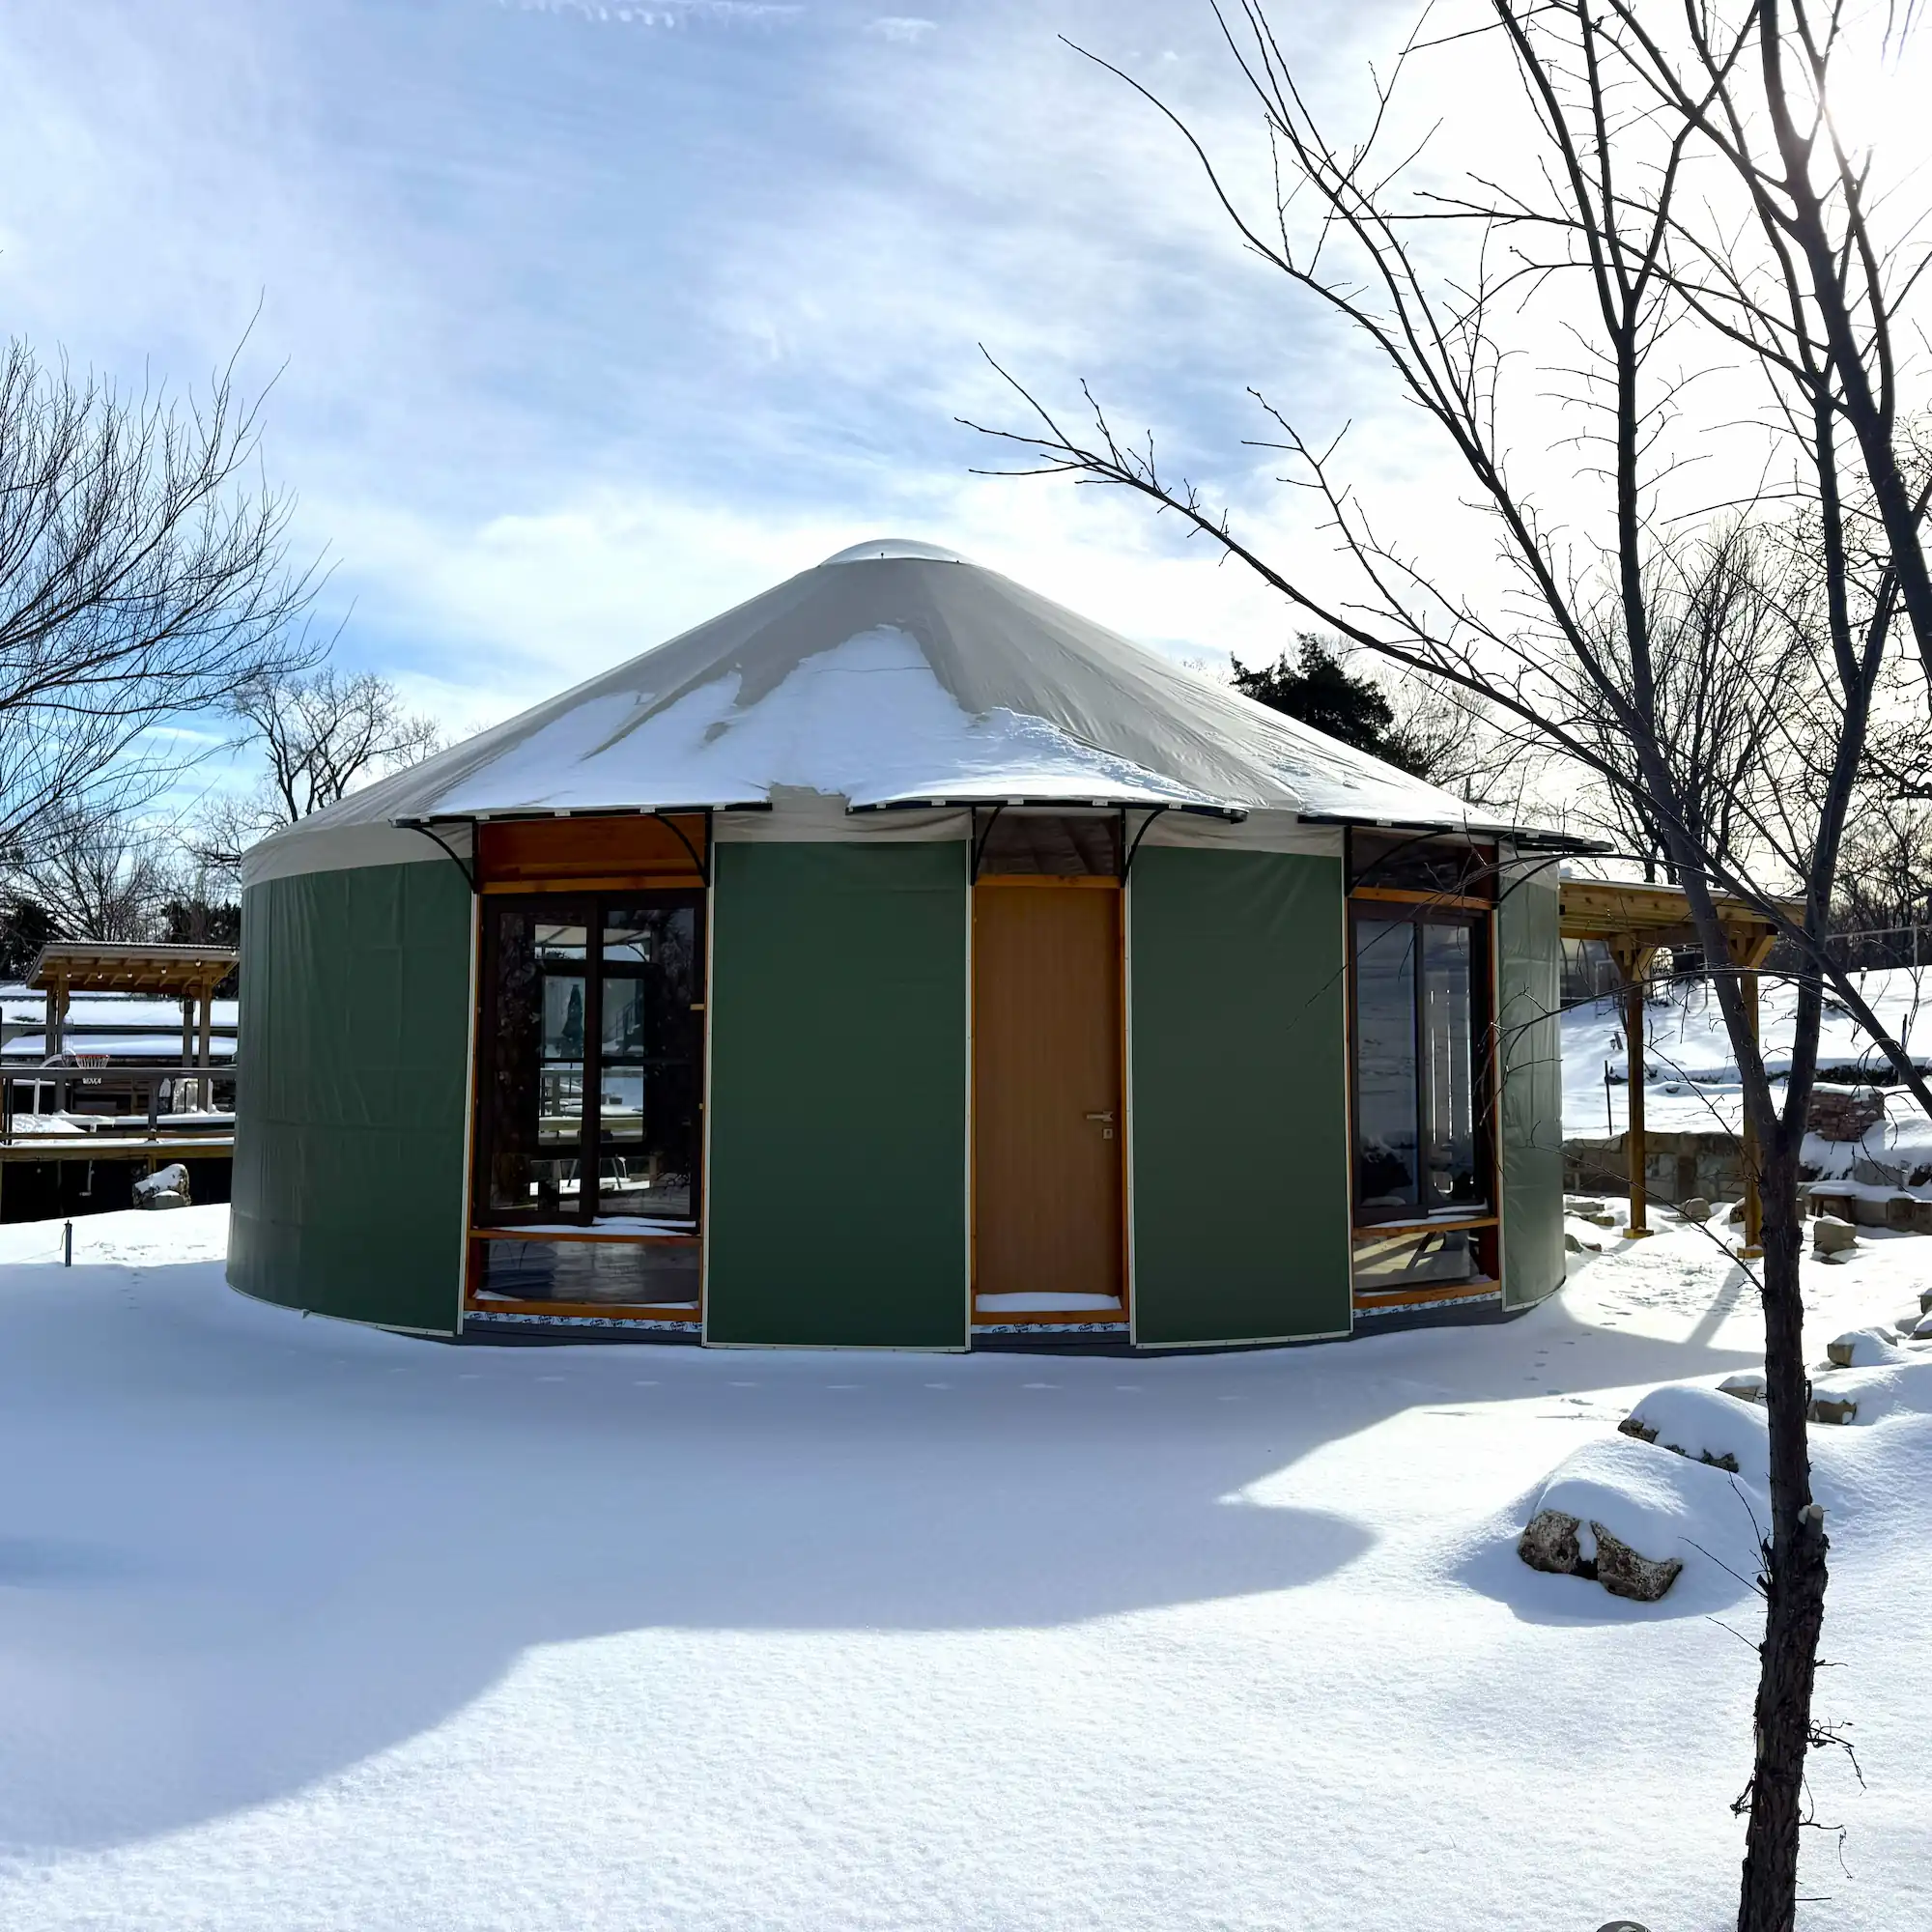
Welcome to the most rewarding and, admittedly, the most nerve-wracking part of creating a true four-season yurt: installing the wood stove. The image of a fire crackling inside your round home is powerful, but bringing that vision to life requires precision, knowledge, and an absolute commitment to safety.
As someone who lives with a wood stove in my own yurt, I have a deep respect for the process. This isn't just another DIY project; it's about installing a controlled fire inside your home. In this guide, I will walk you through the essential steps and safety principles with a "measure twice, cut once" philosophy. We will treat this with the seriousness it deserves.
A Critical Disclaimer: This article is a detailed educational guide, not a substitute for professional installation or your local building codes. Always consult your stove's manual for specific requirements and hire a certified professional to inspect or complete your installation. Your safety is the number one priority.
Step 1: The Golden Rule: Clearances are Everything

Before you even buy a stove, you must understand the concept of clearances. This is the mandatory minimum safe distance between your stove and any combustible surface (like your yurt's lattice wall, rafters, or floor). Heat radiates from the stove in all directions, and this empty air space is your most important safety feature.
- Read the Manual First: Every stove manufacturer specifies the required clearances for their appliance. This manual is your ultimate source of truth. The numbers I give here are general guidelines; your stove's manual is the law.
- Clearance to Walls: A typical stove requires at least 36 inches (91 cm) of clearance from an unprotected combustible wall. With a proper heat shield, this can often be reduced, but never assume.
- Clearance to Ceiling/Rafters: You need to ensure no part of your stove or the single-wall stovepipe is too close to the wooden rafters of your yurt roof.
- Clearance for the Floor: The floor beneath the stove must be protected by a non-combustible material (the hearth).
Step 2: The Unsung Hero: Your Yurt Chimney Flashing Kit

If there is one component you absolutely cannot compromise on, it's this one. A standard metal flashing from a hardware store is designed for a 90-degree angle on a shingle roof. It will fail on a yurt's angled, fabric roof, leading to dangerous leaks or a fire.
A yurt-specific chimney flashing kit is a feat of engineering. It typically includes:
- A high-temperature silicone "boot": This flexible, cone-shaped piece fits snugly around the chimney pipe. It can withstand extremely high temperatures and remains flexible in the cold.
- Metal Rings/Plates: These clamp the silicone boot securely to the yurt's outer fabric, creating a "sandwich" that is completely waterproof.
- An Insulated Sleeve: This part passes through the yurt's insulation layers, ensuring the hot pipe never touches any combustible material.
At The Out Factory, we've designed our yurts to perfectly accommodate these essential kits, ensuring a safe and seamless installation.
Step 3: A Step-by-Step Installation Guide
With the safety principles understood, let's walk through the key phases of the installation.
1. Place Your Foundation: The Hearth
Before the stove comes in, its foundation goes down. Install your floor protector (hearth) in its final position. It must be large enough to meet the clearance requirements in your stove's manual, typically extending at least 18 inches in front of the stove door to catch any stray embers.
2. Position the Stove & Install Heat Shields
Place your stove on the hearth. Now, using a measuring tape, confirm your clearances to the walls. If you are using a heat shield to reduce the clearance, install it now. Remember, the heat shield must be mounted with a one-inch air gap behind it to allow for convective cooling. This air gap is a non-negotiable part of the system.
3. Map Your Chimney Path
With the stove in its final position, attach a length of stovepipe and use a plumb bob (a weighted string) hanging from the ceiling to find the exact point on the roof that is perfectly vertical above your stove's exhaust flue. Mark this spot on the inside of your yurt's inner liner. This is the center point for your cut.
4. The Point of No Return: Cutting the Hole
This is the most nerve-wracking step, so take a deep breath. From inside the yurt, use a utility knife to cut a small "X" at your center mark on the inner liner. Then, using the diameter specified by your flashing kit (e.g., 10 inches), carefully cut through the inner fabric and insulation layers. Now, climb onto the roof. You should be able to see the hole you started. From the outside, carefully cut through the outer fabric to complete the opening.
5. Install the Chimney Flashing
This is a two-person job. The person inside pushes the interior metal ring of the flashing kit up through the hole. The person on the roof applies a generous bead of high-temperature silicone sealant around the opening, then places the exterior ring and silicone boot over the hole, sandwiching the yurt fabric. Secure the two rings together with the provided bolts, creating a tight, waterproof seal.
6. Assemble the Chimney Stack
Now you can build your chimney.
- Inside: Push the single-wall stovepipe up from the stove, ensuring it passes through the center of your flashing.
- Transition: At the roofline, connect your single-wall pipe to your insulated double-wall pipe using the appropriate adapter.
- Outside: Continue adding sections of insulated pipe until you have achieved the proper height. Follow the "2-3-10 Rule": the chimney must extend at least 2 feet higher than any part of the yurt roof within a 10-foot radius, and the top of the chimney must be at least 3 feet above the point where it exits the roof. Finally, install the chimney cap and storm collar.
7. The First Burn: Curing the Stove
Before you move in, you need to "cure" the stove. The high-temperature paint needs to set, and this process will release fumes and an industrial smell. Open all your windows and doors for ventilation. Start a small, hot fire for about an hour. The smell will dissipate, and the paint will be cured and durable.
Step 4: The Smartest Investment: Hiring a Professional
You've done the research and the hard work. The final, crucial step is to have your system inspected and approved. We strongly recommend hiring a certified professional (such as a WETT-certified installer in Canada or an NFI-certified installer in the US) to either perform the installation or, at the very least, conduct a thorough inspection of your work.
Why?
- Peace of Mind: They will spot any potential issues and give you the ultimate confidence that your family is safe.
- Insurance Compliance: Many insurance companies will refuse to cover a yurt with a wood stove unless they have proof of a certified installation.
- Expertise: They understand the nuances of local codes and can ensure your system is 100% compliant.
Conclusion: The Reward for a Job Well Done
Installing a wood stove in your yurt is a serious undertaking, but it is an incredibly rewarding one. By taking a systematic, safety-first approach, you are not just installing a heater; you are building the reliable, self-sufficient heart of your new home. The peace of mind that comes from knowing it was done right is the key ingredient to truly enjoying those magical, snowy winter nights.
FAQs
1. Can I exit the chimney through the wall instead of the roof?
While possible in a traditional house, a wall exit is extremely difficult and generally not recommended for a yurt. It requires a complex, heavily insulated thimble to safely pass through the fabric and lattice wall, and it's much harder to waterproof. A roof exit is the standard, safest, and most effective method.
2. What are the essential tools I will need for this job?
You will need a good measuring tape, a drill, a utility knife or jab saw, a caulk gun for sealant, wrenches for the chimney bolts, a level, and a plumb bob. A good ladder for roof access is also essential.
3. What is creosote and why is it dangerous?
Creosote is a tar-like, highly flammable substance that builds up inside your chimney when you burn wood at low, smoldering temperatures. A thick buildup of creosote is the leading cause of chimney fires. This is why choosing the correct size stove and burning hot, clean fires is so important for safety.

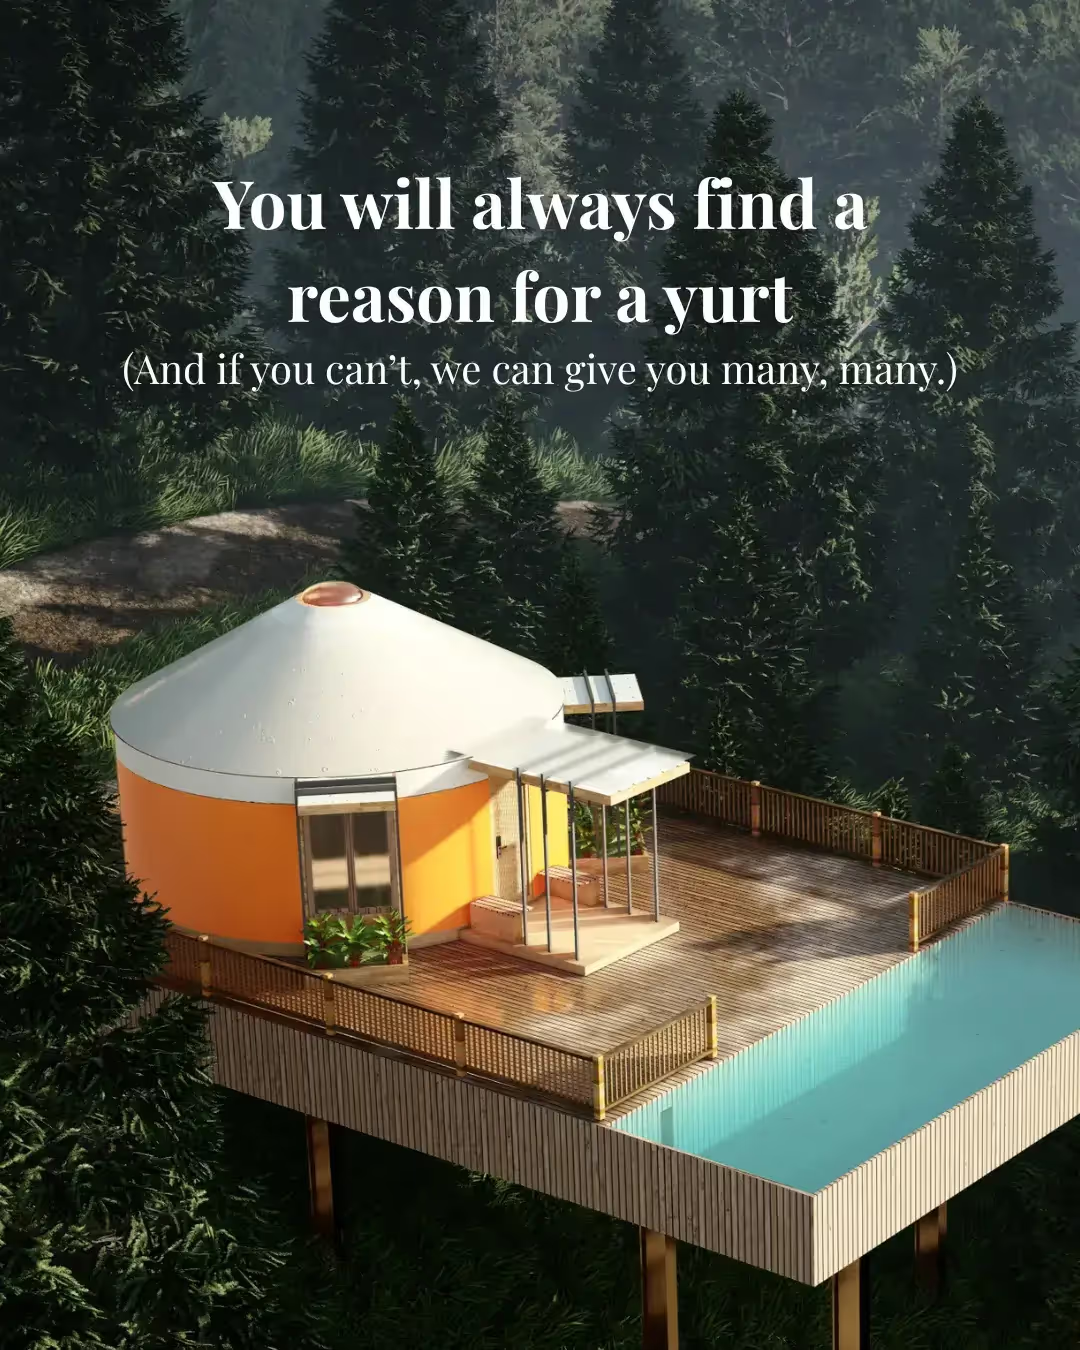
uniquely yours?
Explore Limitless options in our 3d yurt builder
and bring your vision to life

Share Blog


.jpg)
.jpg)
.jpg)
.jpg)
.png)

